To make a dart board, gather a corkboard, paint, a ruler, a compass, and darts. Measure and mark the board, divide it into sections, and paint the different colors.
Place the numbers and the bullseye using the compass and paint. Let it dry and then hang it up, ready for a game of darts. Dart games have been a source of entertainment and friendly competition for centuries. If you’re looking to create a dart board for your own enjoyment, it’s a relatively simple process.
By following a few steps and using some basic materials, you can have your very own dart board hanging up in no time. We will guide you through the process of making a dart board from scratch, ensuring that you’re ready to start aiming for those bullseyes. So grab your materials and let’s get started!
Materials Needed
To make a dart board, you will need a few essential materials. These materials will help you create a sturdy and durable board that will withstand countless hours of dart-throwing fun. Here are the materials you need:
Selection Of Wood
The first step in making a dart board is choosing the right type of wood. The wood you select should be strong enough to withstand the impact of the darts. Oak or birch plywood are great options as they are both durable and have a smooth surface. Ensure you choose a dense and smooth piece of wood that will provide a good playing surface for your dart board.
Corkboard
In addition to the wood, you will need a sheet of corkboard. The corkboard will serve as the backing for the dart board. It provides the necessary cushioning to absorb the impact of the darts and prevent them from bouncing off sharply. Ensure you choose a thick and high-quality corkboard that will effectively protect your walls and floors from any damage.
Paint
Paint is crucial for creating the target area on the dart board. You will need a black paint to create the outer ring, a red paint for the inner ring, and a green paint for the bullseye. These colors are traditional and widely recognized in dart boards. Make sure to choose paints specifically designed for wood surfaces, as they will adhere better and provide a smoother finish.
Nails
The final material you will need is a set of nails. These nails will be used to secure the corkboard to the wooden backing. It’s important to choose nails that are long enough to securely hold the corkboard in place but not too long that they penetrate through the front surface. Galvanized nails are a good option as they are resistant to rusting, ensuring the longevity of your dart board.
Credit: www.feinersupply.com
Steps To Build A Dart Board
If you enjoy playing darts and want to create your own personal dart board, you’re in the right place! Building a dart board can be a fun and rewarding project that will provide hours of entertainment. In this article, we will guide you through the step-by-step process of building your very own dart board. Let’s get started!
Preparing The Wood
- Begin by obtaining a sheet of plywood or particleboard.
- Measure and mark a perfect 18-inch diameter on the wood.
- Use a compass or a large circular object to trace the outer circle of the dart board.
- Then, draw another circle with a 15.5-inch diameter for the playable area.
- Carefully cut out the smaller circle using a jigsaw, ensuring smooth edges.
- Sand down the surface and edges of the wooden board to remove any roughness.
Mounting The Corkboard
- Next, measure the thickness of your corkboard and cut it to the size of the smaller circle.
- Using a strong adhesive, such as wood glue or construction adhesive, attach the corkboard to the wooden board.
- Press down firmly and allow the adhesive to dry completely.
- Ensure that the corkboard is securely mounted and there are no loose edges.
Marking The Numbers
- Using a ruler and a pencil, mark the exact center of the dart board.
- With the center point as a reference, use the dimensions provided to evenly space out the numbered sections.
- Start with the number 20 at the top, then place the remaining numbers in a clockwise direction.
- Remember to leave enough space between each number for the dart to land without overlapping.
Painting The Board
- Apply a coat of primer to the entire surface of the dart board.
- Allow the primer to dry completely before moving on to the next step.
- Using a dark color, such as black or dark green, paint the playable area within the smaller circle.
- Apply multiple coats if necessary, ensuring a smooth and even finish.
- Using a contrasting color, paint the outer circle and the numbers on the board.
- Let the paint dry thoroughly before using the board.
There you have it! By following these steps, you can create your own dart board from scratch. Whether you’re a beginner or an experienced player, having a custom-built dart board adds a personal touch to your favorite game. Enjoy the process and have fun playing darts!
Finishing Touches
Discover the key steps to creating your own dart board with our guide on making the perfect finishing touches for a DIY project. Retrieve tips and tricks for an enjoyable and successful creation process.
Adding Outer Ring
Once you have constructed your handcrafted dartboard, it’s time to add the finishing touches to enhance not only the appearance but also the functionality. Adding an outer ring to your dartboard will not only protect the board from accidental damages but also help in improving your target accuracy. The outer ring creates a clear distinction between the board’s surface and the surrounding area. Here are the steps to add an outer ring to your dartboard:- Measure the diameter of your dartboard using a tape measure.
- Choose a material for the outer ring, such as cork or rubber.
- Take the measurements of the inner diameter of the dartboard and subtract it from the outer diameter to determine the width of the ring.
- Cut the chosen material into a strip matching the determined width.
- Make sure the strip is long enough to cover the entire circumference of the board.
- Apply a strong adhesive to one side of the strip.
- Start attaching the strip to the outer edge of the dartboard, pressing firmly to ensure a secure bond.
- Continue attaching the strip until you have covered the entire circumference.
- Allow the adhesive to dry completely before proceeding to the next step.
Note: Adding an outer ring is optional but highly recommended for protecting your dartboard and preventing any stray darts from damaging the surrounding walls or floors. It also adds a professional touch to your homemade dartboard.
Hanging The Board
To ensure that your handmade dartboard is properly mounted on the wall, follow these steps for a sturdy and accurate hanging:- Choose a suitable location for hanging your dartboard. Make sure it is at a height that’s comfortable for players of all heights.
- Measure and mark the center point of the chosen location on the wall.
- Hold the dartboard against the wall, aligning its center with the marked point.
- Using a pencil, trace around the dartboard to mark its perimeter on the wall.
- Remove the dartboard and attach a wall bracket or mounting plate to the traced area.
- Ensure the bracket or mounting plate is securely fixed to the wall using appropriate screws or bolts.
- Hang the dartboard on the bracket or mounting plate, making sure it fits snugly.
- Check that the board is level using a spirit level or by eye.
- Make any necessary adjustments to ensure the board is perfectly vertical and straight.
- Once the dartboard is securely mounted, step back and admire your handiwork!
By following these steps, you can add the finishing touches to your handmade dartboard and achieve a professional-looking result. Now you’re ready to start enjoying countless hours of dart-throwing fun with family and friends!

Credit: lovelyindeed.com
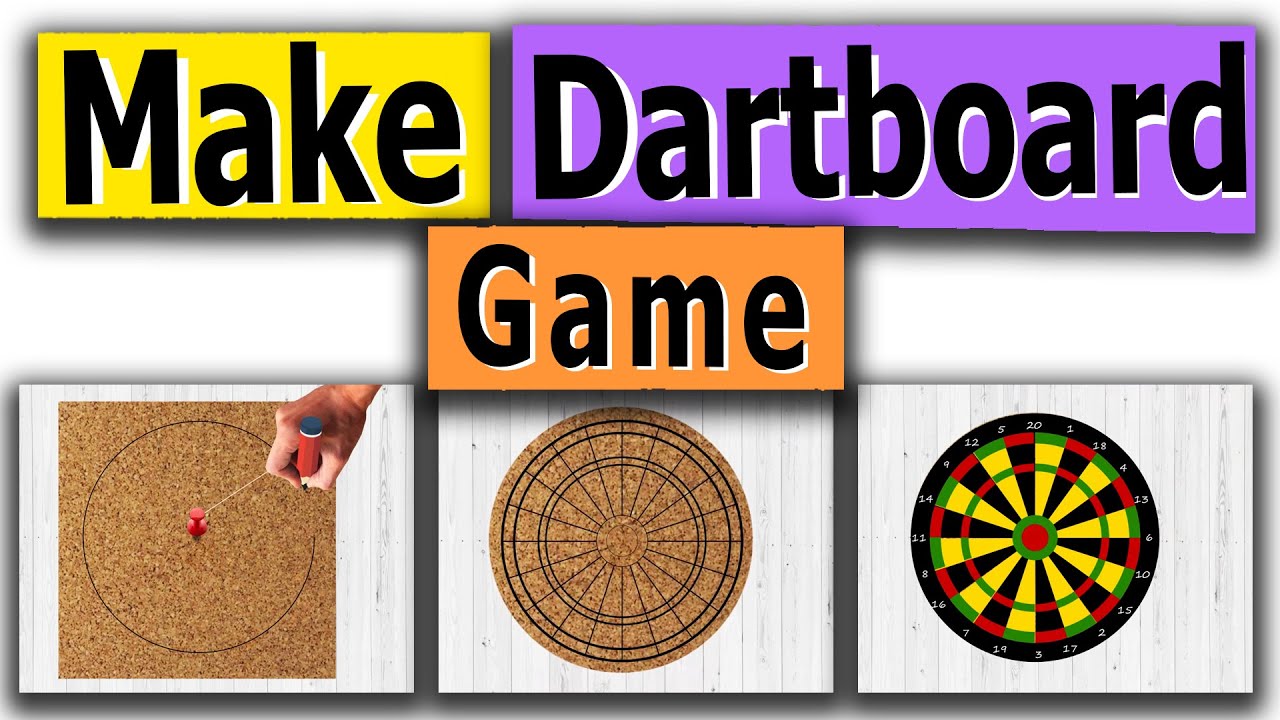
Credit: m.youtube.com
Frequently Asked Questions Of How To Make A Dart Board
Can I Make A Dart Board At Home?
Yes, you can make a dart board at home using some basic materials like corkboard, steel wire, and paint. It’s a fun and rewarding DIY project that allows you to customize your dart board to your liking.
What Is The Best Material For A Dart Board?
The best material for a dart board is sisal fiber. Sisal dart boards are highly durable and self-healing, which means they can withstand repeated use without showing signs of wear and tear. They also provide better grip for the darts, resulting in improved accuracy.
How Do You Set Up A Dart Board?
To set up a dart board, you need to ensure it is mounted securely on a wall at the correct height and distance. The bullseye should be 5 feet 8 inches from the ground, and players should stand 7 feet 9.
25 inches away from the board. Use a tape measure and a level to ensure accuracy.
What Are The Standard Measurements For A Dart Board?
The standard measurements for a dart board include a diameter of 18 inches and a height of 5 feet 8 inches from the ground to the center of the bullseye. Additionally, players should stand 7 feet 9. 25 inches away from the board when throwing their darts.
Conclusion
Creating your own dart board can be a fun and rewarding experience that allows you to customize your game to your liking. By following the steps outlined in this guide, you can design and build your own dart board in no time.
Remember to choose durable materials, practice safety precautions, and enjoy the process. Happy dart throwing!